What are the key steps involved in PV tester guidance for solar panel inspections?
Conducting thorough and effective solar panel inspections is crucial for maintaining optimal performance and longevity. PV tester guidance plays a vital role in ensuring that these inspections are carried out accurately and efficiently. By following a structured approach, you can identify potential issues early and enhance the overall functionality of your solar energy system.
Understanding the key steps involved in PV tester guidance is essential for anyone involved in solar panel inspections. This process not only helps in detecting faults but also aids in verifying the performance of solar panels. By adhering to these steps, you can ensure that your solar panels are operating at their maximum capacity, providing you with reliable and sustainable energy.
The first step in PV tester guidance is preparing the inspection environment. Ensure that the solar panels are clean and free from any obstructions that could affect the test results. It’s also important to check the weather conditions, as testing should ideally be conducted on a clear, sunny day to obtain accurate readings.
Next, focus on the equipment calibration. Before conducting any tests, make sure that your PV tester is correctly calibrated. This involves setting up the tester according to the manufacturer’s instructions and verifying that all connections are secure. Proper calibration is crucial for obtaining precise measurements and ensuring the reliability of your inspection results.
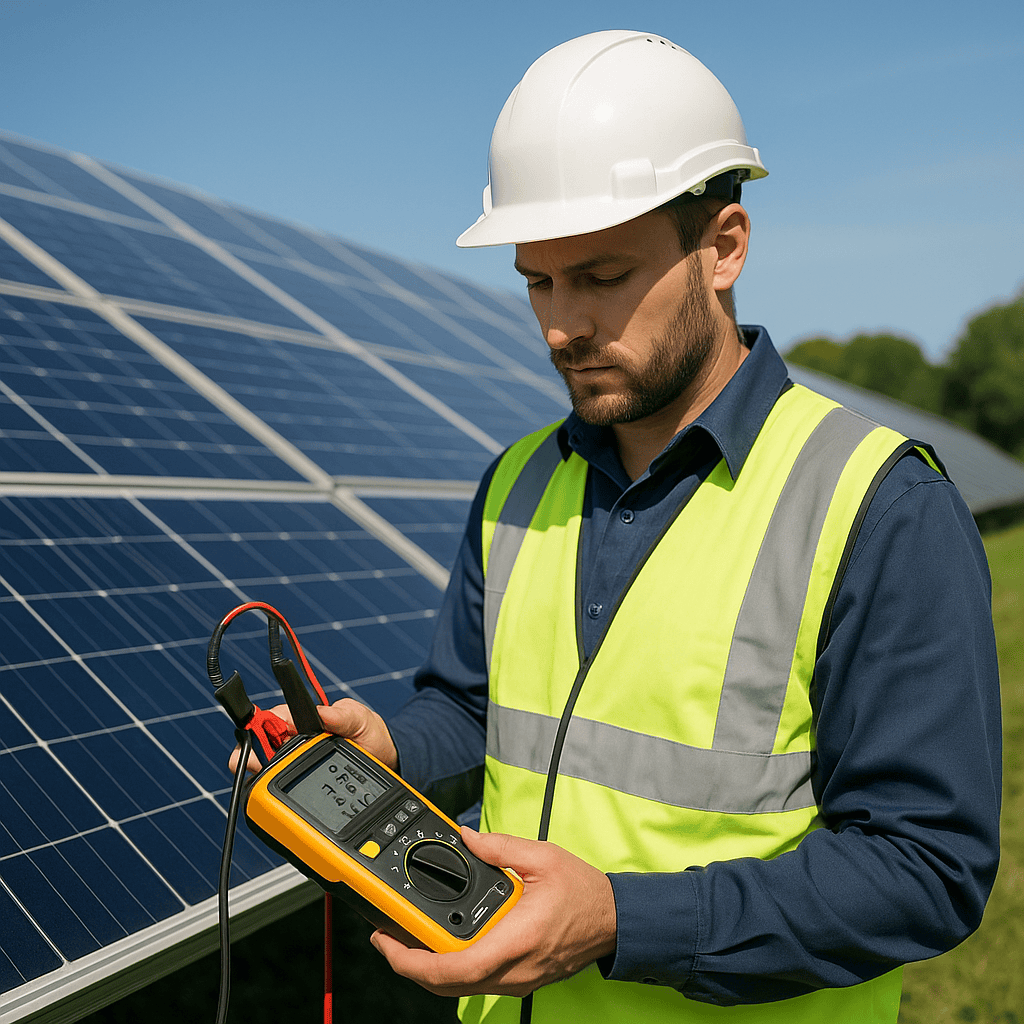
Finally, carry out the testing procedure itself. This involves measuring various parameters such as voltage, current, and insulation resistance. Record these measurements carefully and compare them with the manufacturer’s specifications. Any discrepancies might indicate potential issues that need further investigation or immediate action. By following these steps diligently, you can ensure a comprehensive and effective solar panel inspection.