What steps are involved in the installation of residential solar systems?
Installing a residential solar system is a significant step towards sustainable living, offering both environmental and economic benefits. Understanding the process can demystify the experience and ensure homeowners are well-prepared for each stage. By familiarising yourself with the steps involved, you can anticipate what to expect and make informed decisions throughout the installation journey.
The installation process is comprehensive, beginning with an initial assessment and concluding with a fully operational solar power system. Each step is crucial for ensuring the system’s efficiency and longevity, and knowing what happens on installation day can help you feel more confident and engaged with the process.
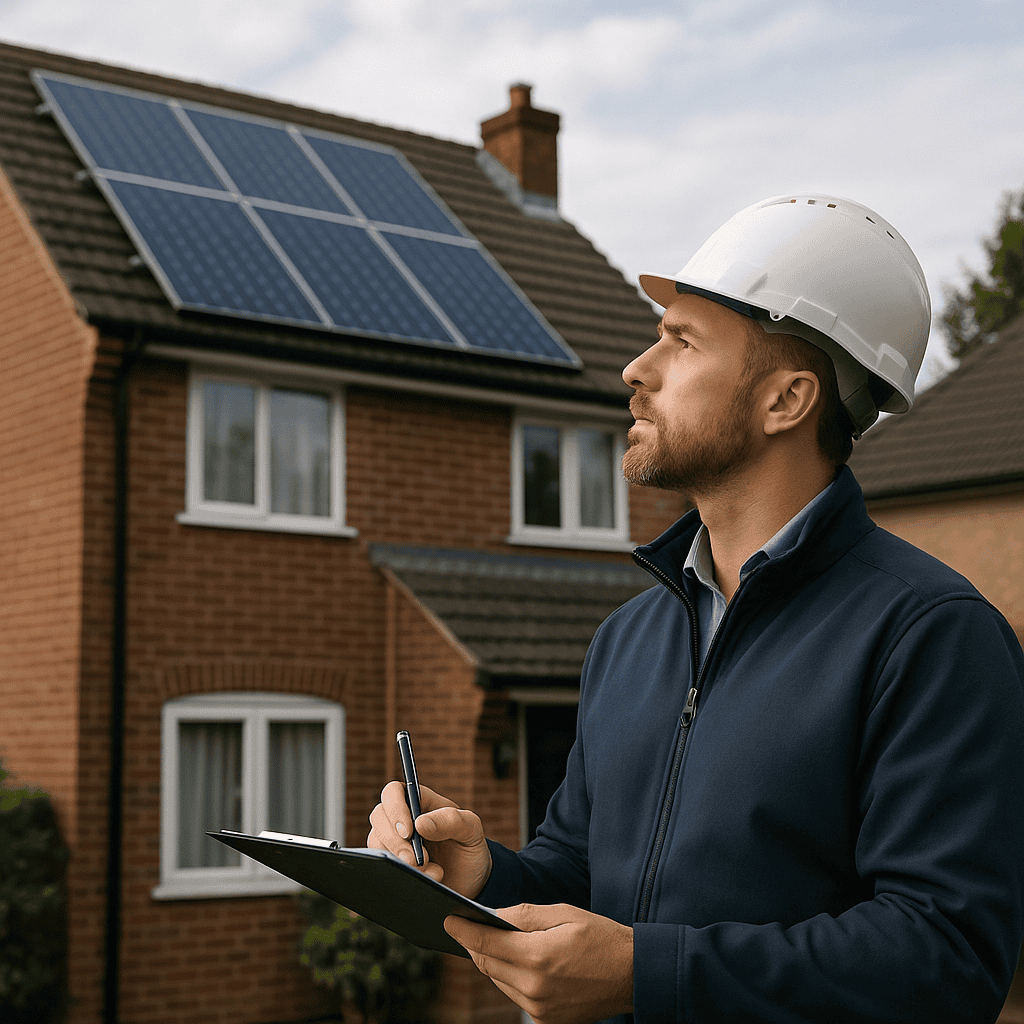
The first step in the installation process involves a site assessment and technical planning. A professional will visit your property to evaluate its solar potential, considering factors such as roof orientation, shading, and structural integrity. This assessment helps determine the optimal system design and size, tailored to your energy needs and property specifics.
Following the site assessment, the next step is obtaining the necessary permits and approvals. This involves liaising with local authorities to ensure compliance with building codes and regulations. Once the permissions are secured, the installation day is scheduled, and the necessary equipment is ordered and delivered.
On installation day, the solar panels and associated components are installed and connected to your home’s electrical system. This process is typically completed within a day or two, depending on the system’s complexity. After installation, a thorough inspection and testing of the system ensure everything operates efficiently, marking the final step before your system is activated and begins generating clean energy.